 General Information
Green Roofs
Rainwater Harvesting
Ponds and Wetlands
Energy-Efficient Building
Waterproofing
EPDM Roofing
Acrylic Roofing
Preparation
Basic Procedure
Inside Corners
Outside Corners
Skylights
Posts
Pipes and Drains
Documents

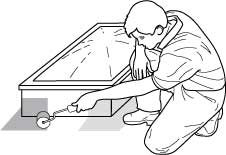
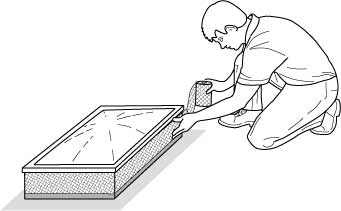
ACRYLIC ROOFING: SKYLIGHTS
Skylights have four outside corners, so the flashing technique is very similar to that for outside corners. If the skylight and mounting curb are two separate pieces, removing the skylight while applying the acrylic roof will keep the glazing clean and make it easier to properly waterproof the curb. Follow these procedures just before beginning to waterproof the main roof surface.
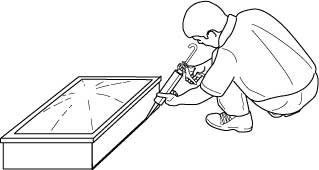
STEP 1: Caulk any voids in the
corner and tool a cove in the caulk.
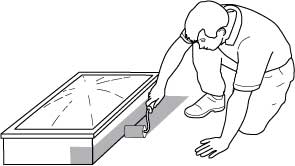
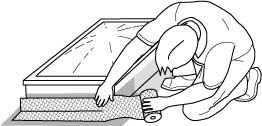
STEP 2: Apply acrylic to one wall,
around the corners, and onto the roof.
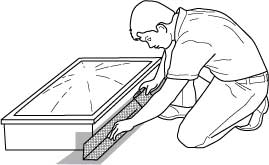
STEP 3: Embed 6" fabric in the wet
acrylic, extending past the corners.

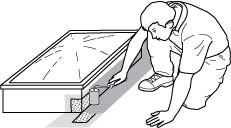
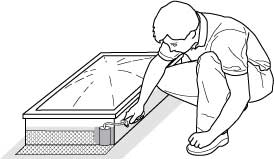
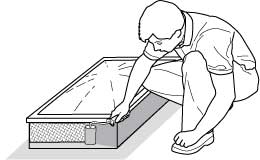
STEP 4: Slit the extending fabric with a
utillity knife and wrap it around the corners.
STEP 5: Topcoat the fabric
with a heavy coat of acrylic.
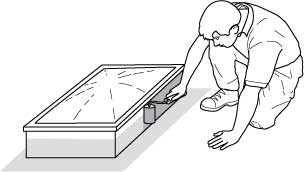
STEP 6: Apply acrylic to the second wall,
around the corners, and onto the roof.
STEP 7: Embed 6" fabric in the wet
acrylic, extending past the corners.
STEP 8: Slit and topcoat the fabric. Apply
acrylic and fabric to the third and fourth sides.
STEP 9: Remove any puddles at the corners
and apply acrylic up to the top of the curb.
STEP 10: Embed fabric in the wet
coating, overlapping the lower fabric.
STEP 11: Topcoat the second
fabric with a heavy coat of acrylic.